
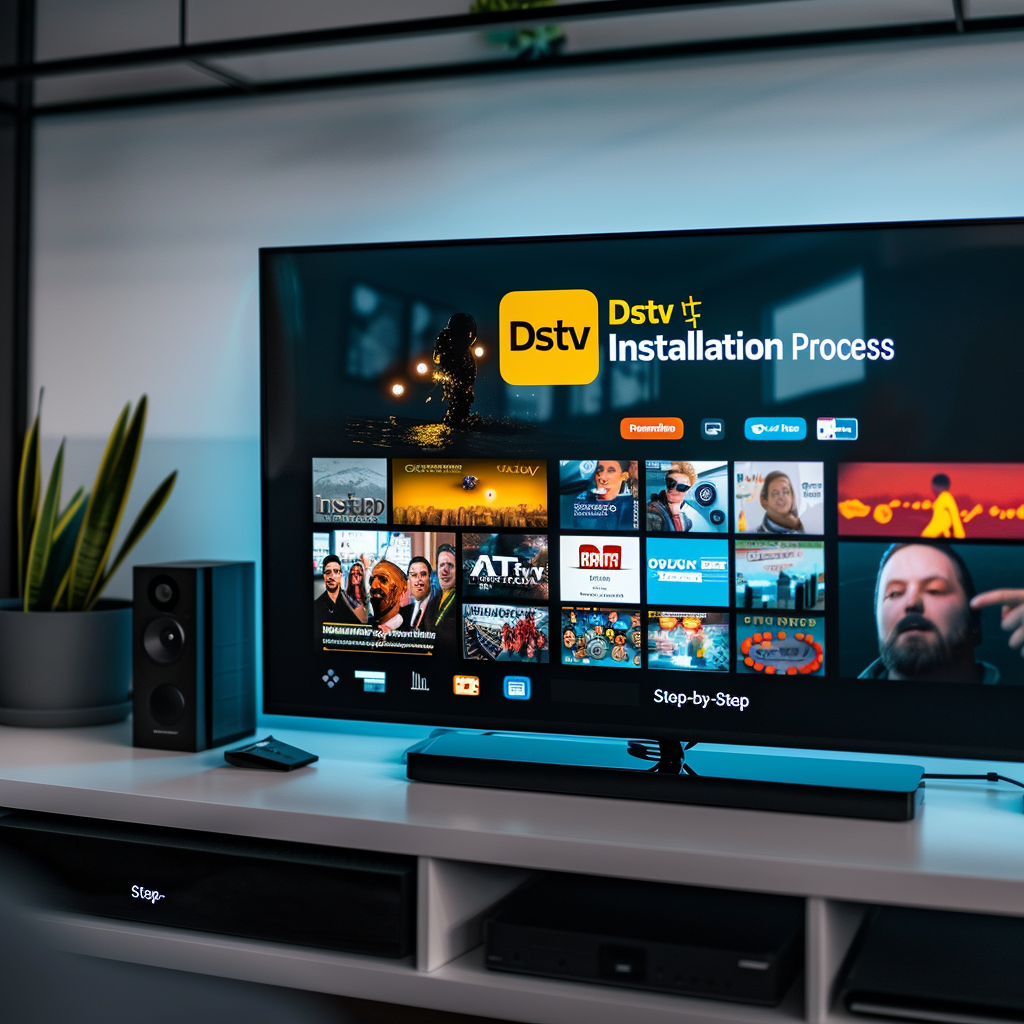
Connecting the decoder to your TV and satellite dish is a crucial step in the DSTV installation process. This guide will walk you through the steps to ensure a smooth and successful connection, allowing you to enjoy DSTV’s wide range of channels and features.
For more detailed guides and professional DSTV installation services, visit DSTV Cape.
Steps to Connect the Decoder
1. Gather Necessary Equipment
Before you begin, ensure you have all the required equipment:
- DSTV Decoder: Ensure you have the correct model for your subscription.
- Remote Control: The remote control for the decoder.
- HDMI Cable: For connecting the decoder to the TV.
- Coaxial Cable: For connecting the dish to the decoder.
- Power Cable: To power the decoder.
2. Connect the Decoder to the TV
Connect the decoder to your TV using the HDMI cable:
- Locate HDMI Ports: Find the HDMI port on both the decoder and the TV.
- Insert HDMI Cable: Connect one end of the HDMI cable to the decoder and the other end to the TV.
- Select HDMI Input: On your TV remote, select the HDMI input that corresponds to the port you used.
3. Connect the Decoder to the Satellite Dish
Connect the coaxial cable from the dish to the decoder:
- Connect to LNB: Attach the coaxial cable to the LNB port on the satellite dish.
- Connect to Decoder: Attach the other end of the coaxial cable to the satellite input port on the decoder.
4. Power Up the Decoder
Plug in the power cable and turn on the decoder:
- Connect Power Cable: Insert the power cable into the decoder and plug it into a power outlet.
- Turn On: Press the power button on the decoder or use the remote control to turn it on.
5. Initial Setup and Configuration
Follow the on-screen prompts to complete the initial setup:
- Language Selection: Choose your preferred language.
- Network Settings: Configure the network settings if your decoder requires an internet connection.
- Scan for Channels: The decoder will automatically scan for available channels and store them.
6. Test the Connection
Verify that the decoder is functioning correctly:
- Check Signal Strength: Ensure the signal strength is adequate by accessing the signal strength menu on the decoder.
- Test Channels: Browse through the channels to ensure they are loading properly and without interference.
Conclusion
Connecting the decoder is a straightforward process that, when done correctly, ensures you can enjoy all the features DSTV offers. By following these steps, you can ensure a smooth and trouble-free setup.
For additional information and professional assistance, please visit DSTV Cape. Continue to the next step in the installation process with our guide on Signal Strength Testing, or review the previous guide on Running the Cables.