
Configuring the decoder is an essential step in the DSTV installation process. Proper configuration ensures that the decoder is set up correctly to receive and display channels. In this guide, we will cover the steps required to configure your DSTV decoder.
For more detailed guides and professional DSTV installation services, visit DSTV Cape.
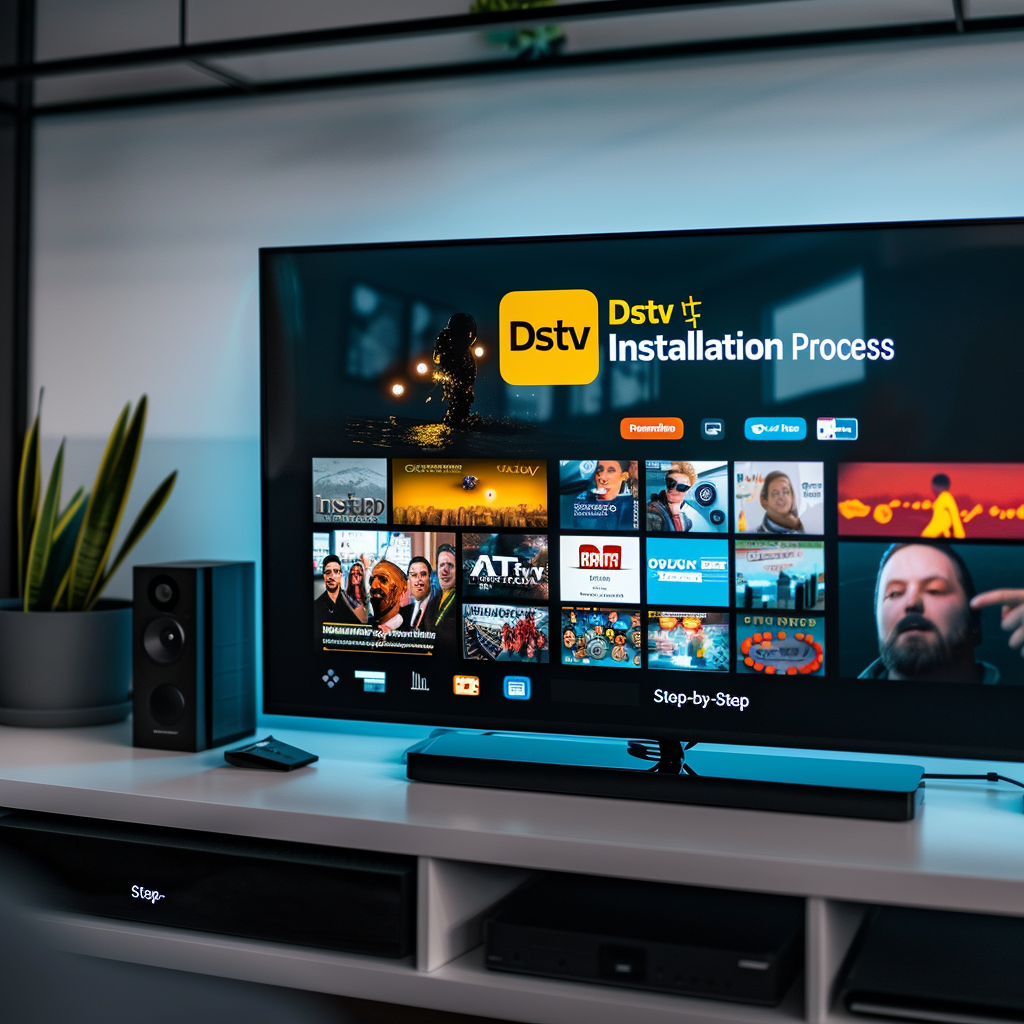
Steps to Configure the Decoder
1. Initial Setup
Upon powering up the decoder for the first time, you will need to complete the initial setup:
- Language Selection: Choose your preferred language from the options provided.
- Country Selection: Select your country to ensure the decoder receives the correct satellite signals.
2. Network Configuration
If your decoder requires an internet connection for additional features, configure the network settings:
- Wi-Fi Connection: If using Wi-Fi, select your network and enter the password.
- Ethernet Connection: If using an Ethernet cable, connect it to the decoder and your router.
3. Satellite Settings
Configure the satellite settings to ensure proper signal reception:
- LNB Type: Select the correct LNB type (usually Universal for most installations).
- Satellite Selection: Choose the appropriate satellite for your region (e.g., IS20 for South Africa).
4. Channel Scan
Perform a channel scan to detect and store available channels:
- Auto Scan: Select the auto-scan option to automatically detect and store channels.
- Manual Scan: If necessary, you can perform a manual scan by entering specific frequencies.
5. Test Channels
After the scan is complete, test the channels to ensure they are working properly:
- Browse Channels: Use the remote to browse through the channels and check for any issues.
- Signal Check: Verify that the signal strength and quality are adequate for all channels.
6. Software Updates
Ensure your decoder has the latest software updates installed:
- Check for Updates: In the settings menu, check for any available software updates.
- Install Updates: If updates are available, follow the on-screen instructions to install them.
7. Customize Settings
Customize the decoder settings to your preferences:
- Parental Controls: Set up parental controls to restrict access to certain channels.
- Favorite Channels: Create a list of favorite channels for easy access.
Conclusion
Configuring the decoder is a straightforward process that ensures your DSTV service is set up correctly and ready for use. By following these steps, you can enjoy a seamless and customized viewing experience.
For additional information and professional assistance, please visit DSTV Cape. Continue to the next step in the installation process with our guide on Scanning for Channels, or review the previous guide on Signal Strength Testing.