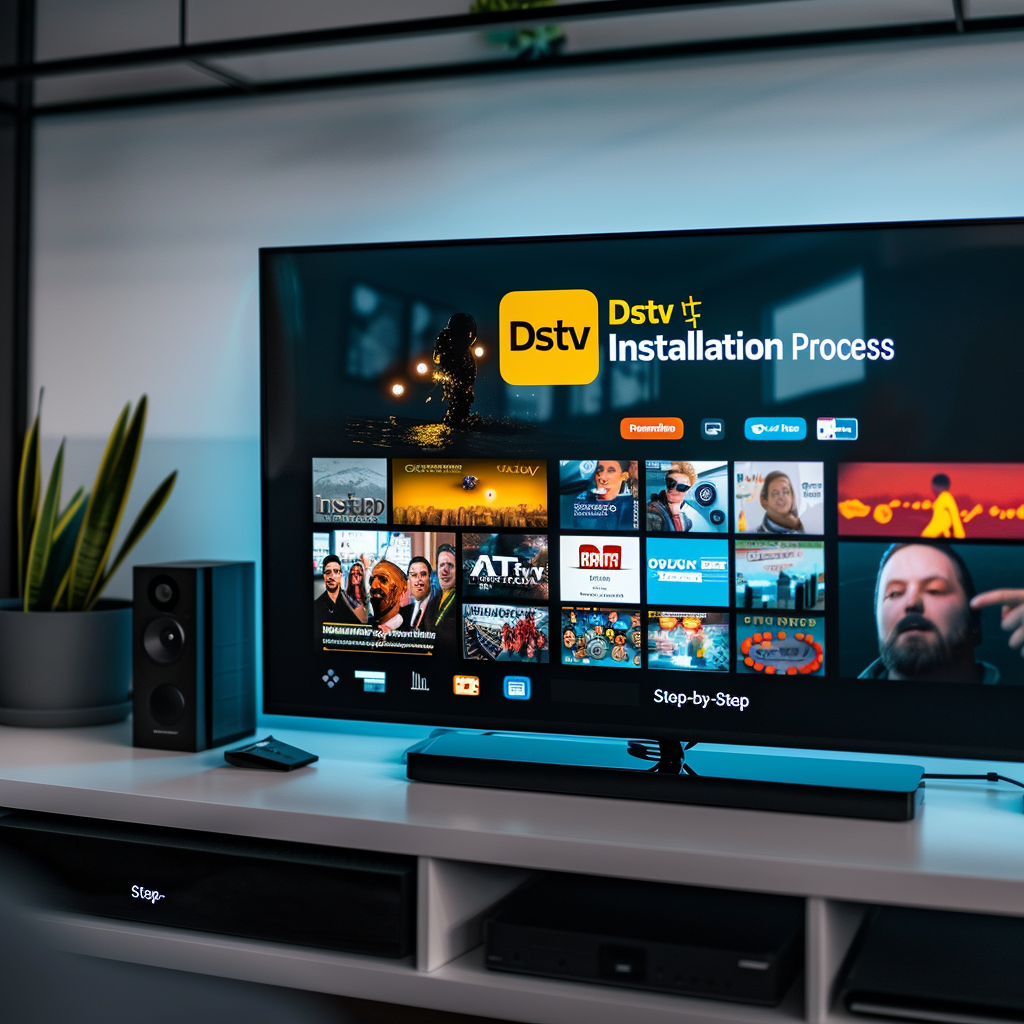
Dstv Installation Process Step-by-Step
DSTV Installation Process Step-by-Step
The DSTV Installation Process Step-by-Step pillar page is a comprehensive guide designed to help you through every phase of setting up your DSTV system. This detailed resource covers everything from the initial site assessment to the final testing and activation of services, ensuring you can enjoy your DSTV service without any hitches. Below is a breakdown of each crucial step included in the installation process.
Initial Site Assessment
The first step in the DSTV installation process involves performing an initial site assessment. This step is critical to identifying the best location for the satellite dish, taking into account factors such as unobstructed line of sight to the satellite, stability, and accessibility for future maintenance. By carefully evaluating the location, you can ensure optimal signal reception and long-term satisfaction.
Preparing the Dish
Once the site has been assessed, the next step is to prepare the satellite dish for installation. This involves unpacking and inspecting the dish, assembling it according to the manufacturer’s instructions, and ensuring the LNB (Low Noise Block) is properly attached. Proper preparation and alignment of the dish are crucial for receiving a strong signal.
Running the Cables
After the dish is prepared, the next step is to run the cables from the dish to the decoder. Planning the cable route is essential to avoid obstacles and minimize signal loss. Using high-quality coaxial cables and securing them with cable clips ensures a neat and efficient setup. Additionally, any outdoor connections should be weatherproofed to protect them from the elements.
Connecting the Decoder
Connecting the decoder to the satellite dish and your TV is the next crucial step. This involves using an HDMI cable for the TV connection and a coaxial cable for the satellite connection. Ensuring all connections are tight and secure is vital for preventing signal loss and ensuring a seamless viewing experience.
Signal Strength Testing
Once the connections are made, testing the signal strength and quality is essential. Accessing the signal strength menu on the decoder allows you to make any necessary adjustments to the dish alignment, ensuring the highest possible signal quality. Using a signal meter can help fine-tune the alignment for optimal reception.
Configuring the Decoder
Configuring the decoder involves setting up the initial settings such as language and network configuration, performing a channel scan to detect available channels, and updating the software to the latest version. Proper configuration ensures that the decoder is ready to deliver the best viewing experience.
Scanning for Channels
Scanning for channels is a straightforward process that ensures all available channels are detected and stored on your decoder. This can be done through an auto-scan or manual scan, depending on your preference and needs. Testing the channels after the scan ensures everything is working correctly.
Setting Up the Remote Control
Setting up the remote control involves pairing it with the decoder and testing its functionality. This ensures you can easily navigate through channels, access settings, and use all the features of your DSTV system.
Troubleshooting Initial Setup Issues
If any issues arise during the initial setup, troubleshooting steps are provided to address common problems such as no signal, failed channel scans, or remote control issues. These steps help ensure a smooth and successful installation process.
Finalizing the Installation
Finalizing the installation involves verifying all connections, performing a final signal check, customizing user settings, and conducting a final test to ensure everything is working correctly. This step ensures your DSTV system is fully operational and ready for use.
Additional Steps
Additional steps include conducting a customer walkthrough to explain the system’s features, activating DSTV services, providing necessary documentation and manuals, and scheduling follow-up appointments if needed. Cleaning up after the installation and handling any customer queries are also important aspects of the process.
In summary, the DSTV Installation Process Step-by-Step pillar page offers a comprehensive guide to ensure your DSTV system is installed correctly and efficiently, providing you with the best possible viewing experience. For more detailed guides and professional assistance, visit DSTV Cape.